Agent Quick Start Guide
In this article, you will learn how to navigate the Liner interface, manage work statuses, handle calls and messages, and use the training mode to prepare for work.
Interface Overview
After logging into the system, the Analytics page opens. Here, you can see summary information about your shift performance and personal efficiency. For more details on charts, read the Analytics article.
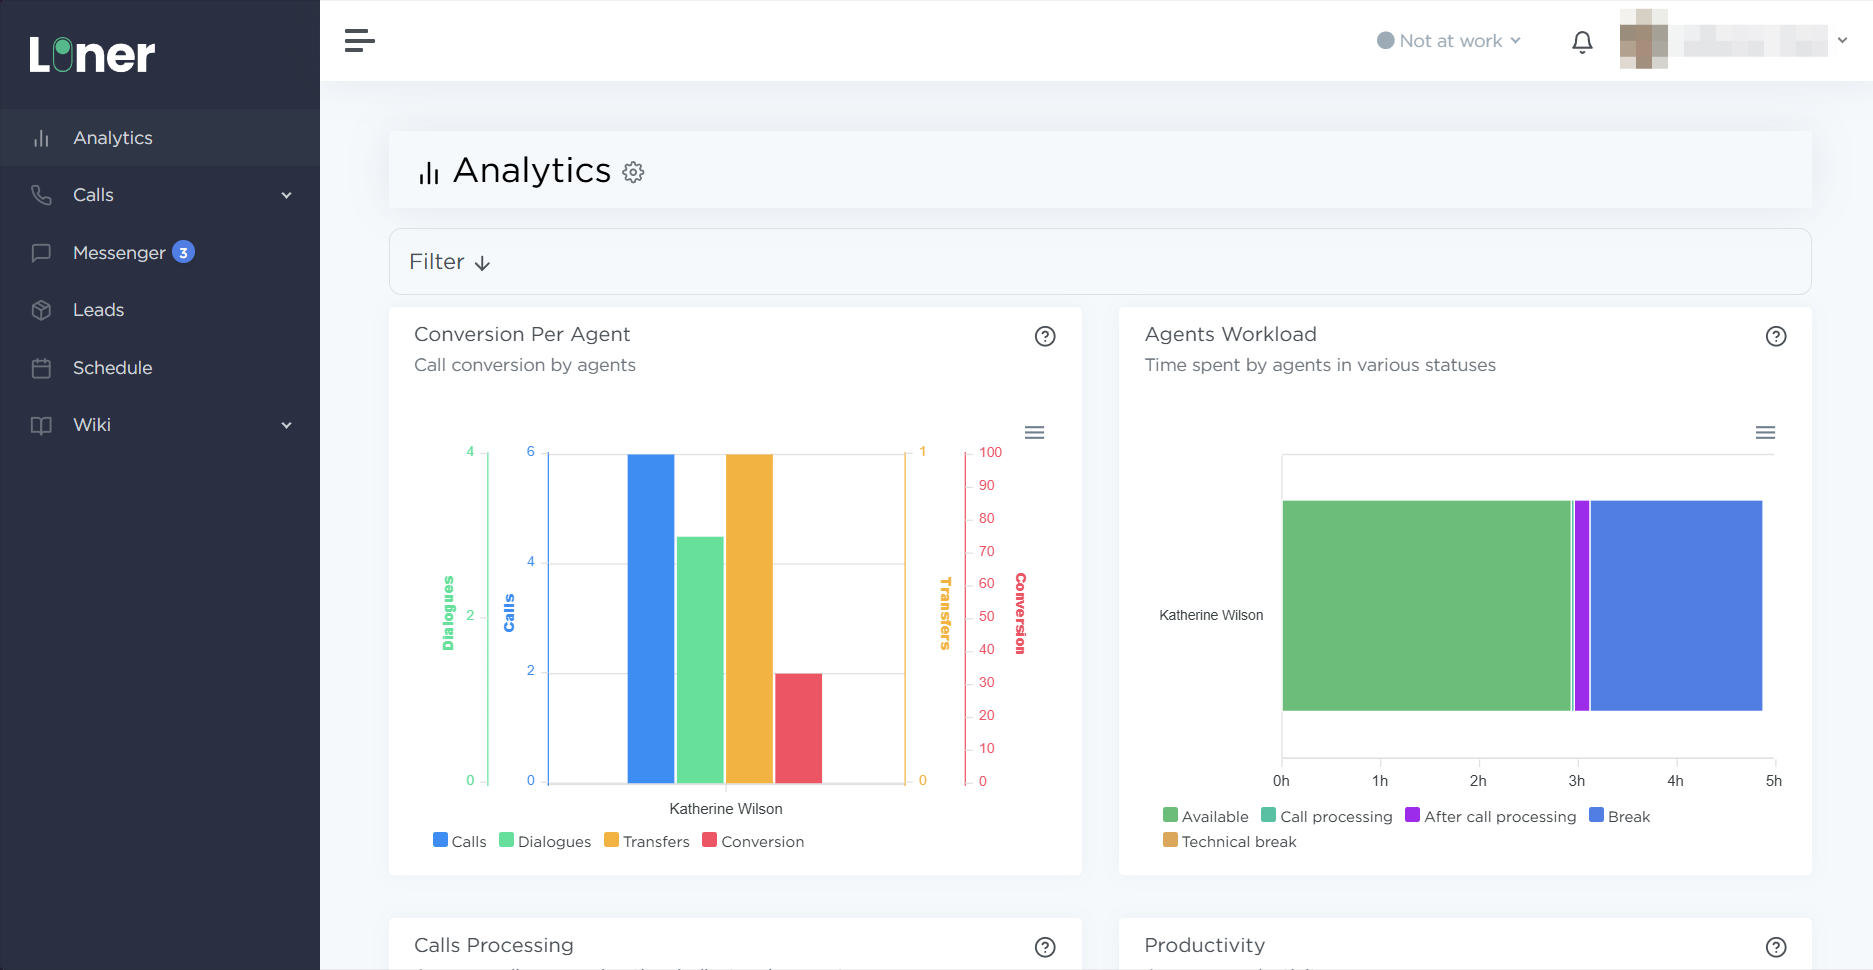
The main menu is located on the left side of the screen:
- Calls:
- Quality Control — a section for reviewing your performance scores and listening to call recordings.
- Call simulator — a safe environment to practice using the system without making real calls.
- Messenger — a single window for text correspondence with customers.
- Leads — a database of customers with their contact information and interaction history.
- Schedule — your current shift and break schedule.
- Wiki — a knowledge base containing regulations and support materials.
Managing Work Statuses
Your current status is displayed at the top of the window, next to the notification icon. The distribution of tasks and the tracking of your working time depend on the selected status.
- To start dialing leads, select the Available status from the drop-down list.
- Wait for the automatic equipment check to complete.
- Click the Go on the line button. If done correctly, the system will begin routing incoming calls to you or connecting you with customers in outbound dialing mode.

If you need to temporarily interrupt your work, use the following statuses:
-
Break — set this status for short periods of rest.
Pay attention
Time spent in this status is included in the general statistics as time on shift.
-
Tech Break — use this option only at the request of an administrator or support service for technical maintenance. Time in this status is not counted toward your work shift.
-
Not at work — set this status only at the end of the workday to fully close your shift.
Handling Calls
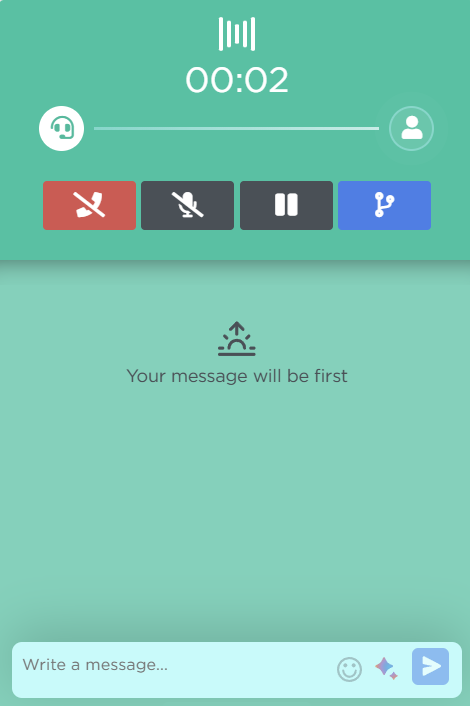
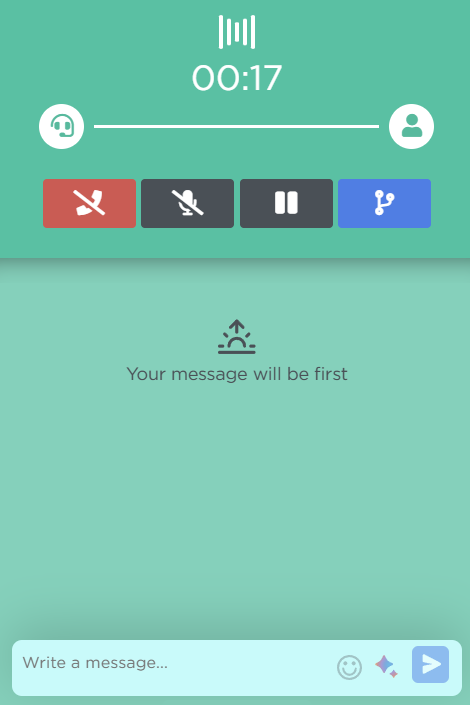
During a conversation, the call widget is displayed on the screen. You can track the connection stages by the color of the icons:
- Outline customer icon — dialing in progress, waiting for an answer.
- Solid (filled) icon — the customer has picked up, connection established.
- Transfer icon — follows the same color scheme to help you monitor the process of transferring a call to the sales department.
Using the Call simulator
If you want to practice before starting real work:
- Go to Calls → Call simulator.
- Activate the toggle.
The system will start an equipment check and a call simulation identical to the real workflow.
Working in the Messenger
When a customer sends a new message, an unread conversation counter appears in the Messenger section.

-
Go to the Messenger section and select the required conversation from the list on the left.
-
Type your text in the input field at the bottom of the screen.
-
Press Enter to send the message. To move text to a new line (create a paragraph), use the Shift+Enter key combination.
-
If you need to leave information for colleagues that will not be visible to the customer, click the Notice button above the input field and save your comment.
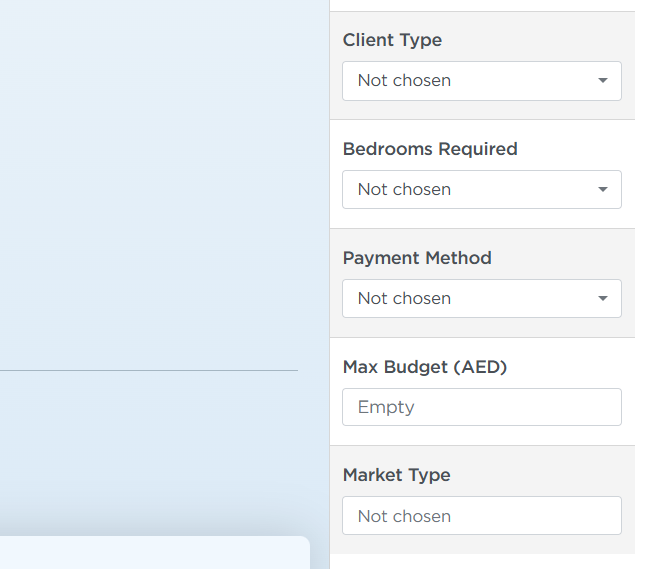
Information and custom fields (if configured for the order) are located to the right of the chat window. Be sure to fill in the custom fields as you receive new information from the customer during the chat.