Quick Start
Quick Start is a minimal set of steps you need to go through before you can start using Liner. Once you complete them, you’ll be able to make and receive calls, work with orders and leads, and use the built-in training mode.
Step 1. Creating an operator and assigning a virtual number
Operators are required for both outgoing and incoming calls.
How to create an operator
-
Go to Users.
-
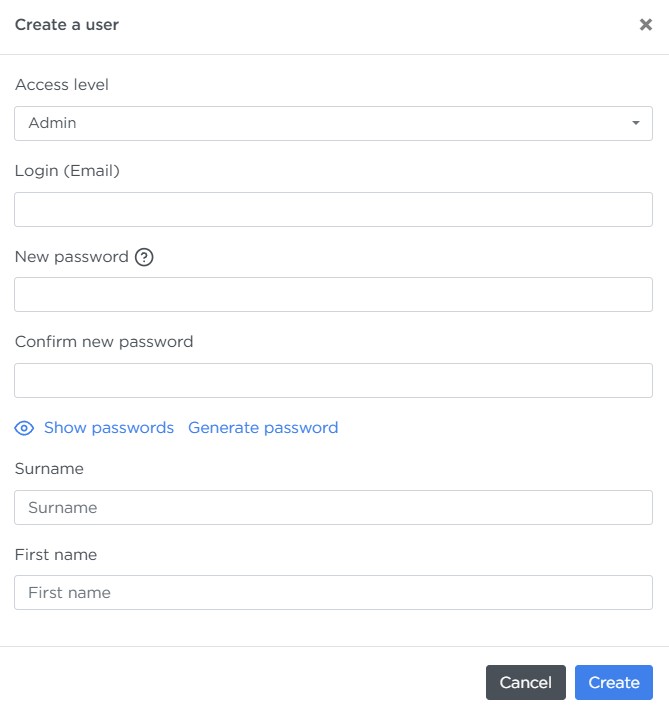
Click Create a user.
-
Fill in the fields:
-
Access level — select Operator.
- Login (Email) — the employee’s work email.
- New password — can be generated automatically.
- Confirm new password.
- Surname, First name.
Linking telephony
-
Open the profile of the newly created user (it opens automatically, but you can return to it later).
-
Go to the Phone tab.
-
In the Connection params section, click Create connection. Liner will automatically create a corresponding user in VoxImplant and sync the data.
-
Save the changes.
Step 2. Setting up call attempts
Call attempts define how long the system waits before trying to call a lead again if the first attempt wasn’t successful.
How to set an interval
-
Go to Parameters → Call attempts.
-
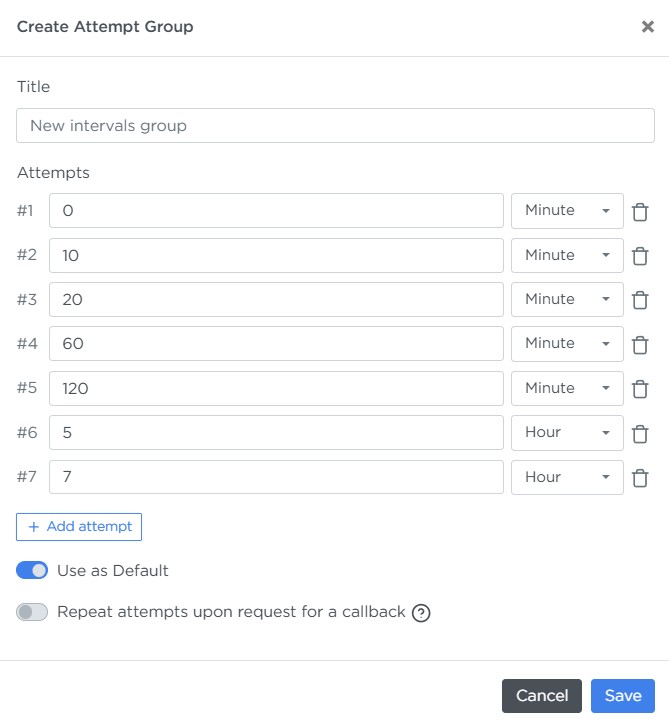
Click Create Attempt Group.
-
Fill in the fields:
-
Title — enter a clear title for this interval group.
-
Attempts — add each call attempt in order, specifying how much time should pass after the previous attempt. Recommended parameters:
-
Use as Default — enable this if you want this interval group to be used automatically for all orders that don’t have custom intervals.
-
Repeat attempts upon request for a callback — enable this to reset all previous attempts and restart the interval sequence when the operator sets the call status “Call back request”.
Note
The recommended number of intervals is at least 7. According to statistics, 75% of successful calls happen within the first three attempts, while the remaining 25% occur between the 4th and 8th attempts.
-
Save the Attempt group.
Pay attention
If an interval-based call falls outside of working hours, it will be placed in the queue and made at the beginning of the next working day.
Step 3. Setting up quick replies and the conversation script
Why this step matters:
-
Quick replies help operators respond faster with predefined phrases.
-
The conversation script ensures consistent communication and helps reduce mistakes.
Quick replies
-
Go to Parameters → Quick replies.
-
Click Create category. Categories help separate replies for different stages of communication with a lead. In the form, specify:
-
Service title and Title in the list — for example, the stage of the sales process.
-
Sorting — a number that defines the order of this category in the script. Higher numbers move the category closer to the top.
-
Colors — choose a color to visually distinguish this category.
-
Use in selection script — set to Real Estate.
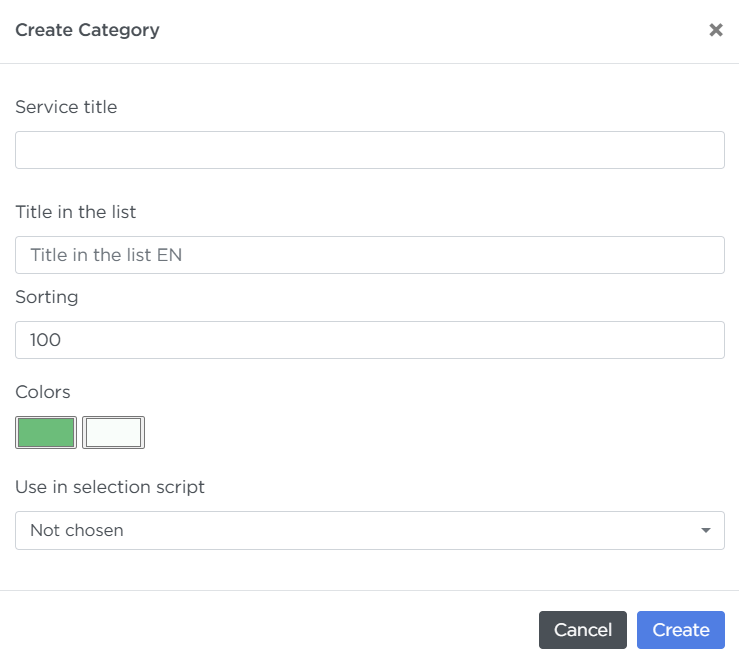
Click Create when the form is filled out.
-
-
Open the category you just created and click Create quick reply. In the form, specify:
-
Title — usually the customer’s phrase that the reply addresses (e.g., “Too expensive”).
-
Text — the operator’s actual response.
-
Sorting — higher numbers place this reply closer to the top within the category. This helps keep frequently used replies more accessible.
-
Pinned categories — select the category created earlier. Later you can attach this reply to several categories if needed.
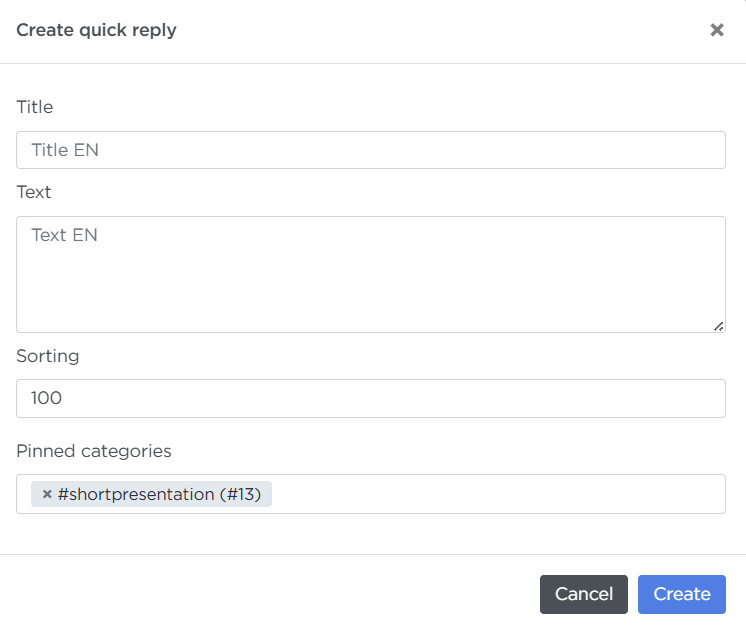
Click Create to save the reply.
-
Call script
-
Go to Parameters → Call scripts.
-
Click Create Call script.
-
Fill in the basic parameters. On the Main tab, enter a Title, for example “Apartment Selection”.
-
On the Snippets tab, fill in the initial phrases for each stage of the dialogue (Welcome, Brief presentation, etc.). For every block, select the quick reply categories that should appear to the operator during the call.
You can leave blocks empty if they’re not relevant.
-
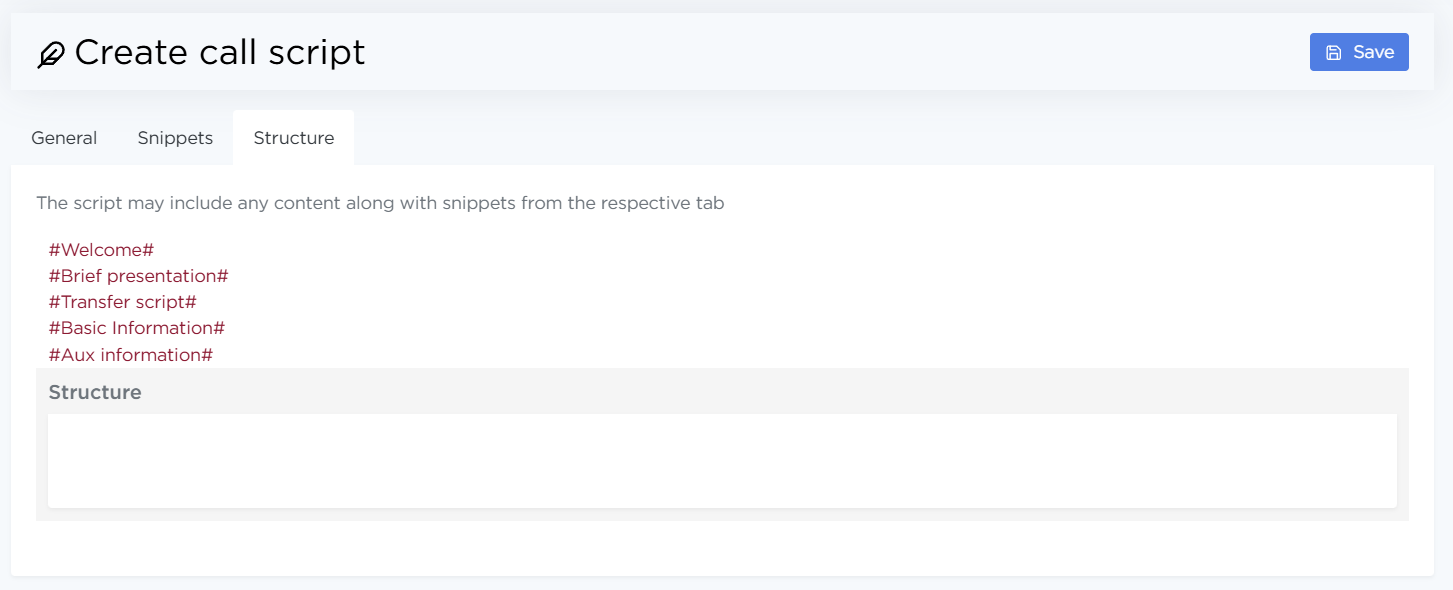
On the Structure tab, arrange the block tags in the desired order, for example:
-
Welcome
-
Brief presentation
-
Transfer script
-
Basic information
-
Aux information
-
-
Save the script.
Step 4. Creating an order
An Order is the main entity in Liner. It brings together settings for calls, leads, scripts, and operators. All call and lead-processing rules are configured here.
-
Go to Orders.
-
Click Create order.
-
Fill out the main fields across all tabs.
Main tab
-
Title — enter a clear and informative name for the order.
-
Status — select the order status:
- Draft — calls will not start immediately after creation.
- In progress — calls will start as soon as the order is created.
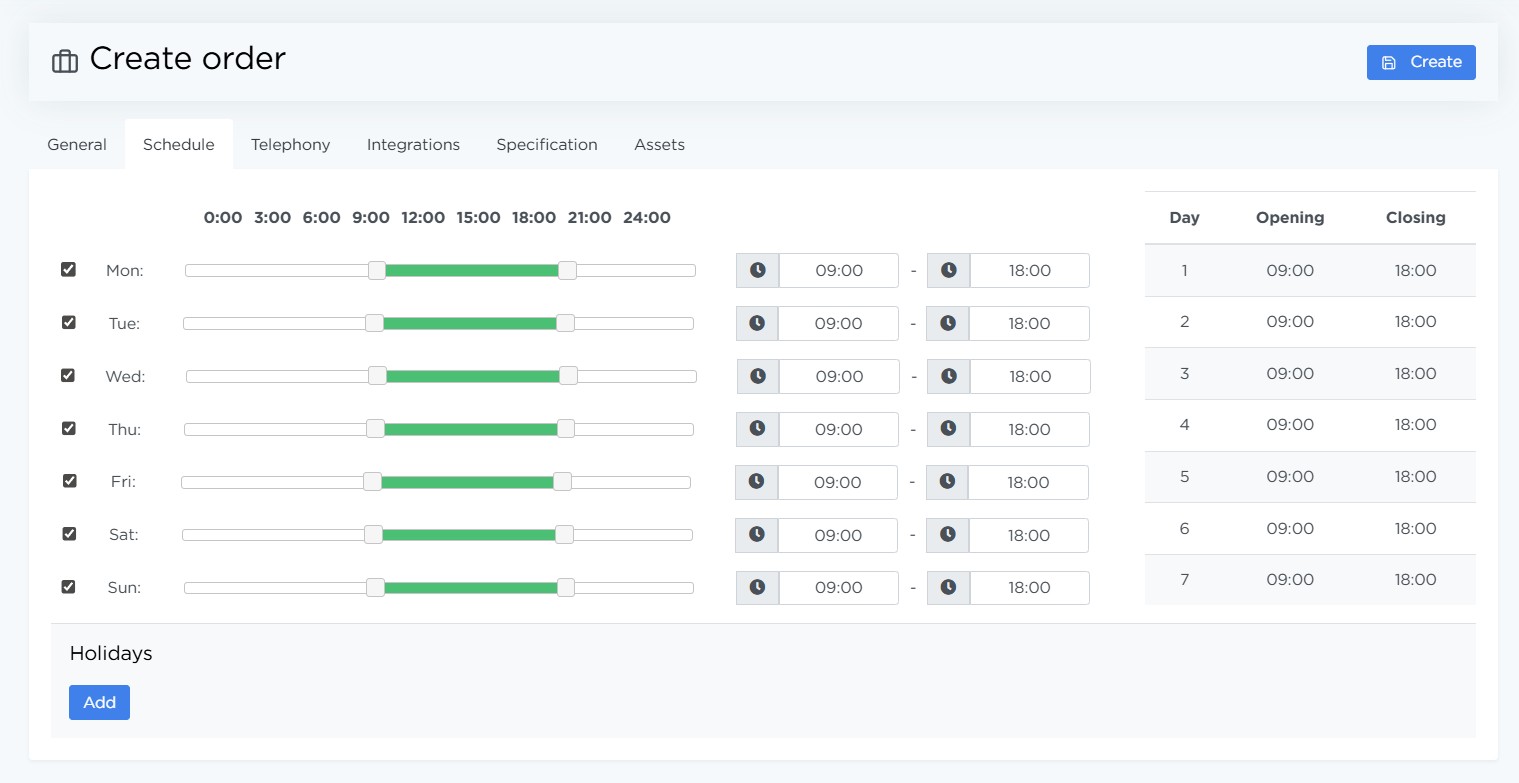
Schedule tab
-
Select the weekdays when calls for this order should be made.
-
For each selected day, set the time range during which calls are allowed.
-
You can also add holidays when calling should be completely disabled.
Telephony tab
-
Dialer — enable or disable call processing for this order.
-
Queue priority — a number that determines how high this order’s leads rank in the global call queue. Higher number → higher priority.
-
Unknown caller processing — choose how to handle incoming calls from numbers not found in the lead list:
- Do not process — such calls are rejected.
- Create leads with type “Selection” — calls are accepted and object selection begins.
- Create leads with type “Direct” — calls are accepted and processed under general rules.
-
Call center phone number — enter a SIP-URI or a standard phone number for forwarding calls to a sales or support team.
-
Additional call center numbers — optional extra numbers to use if the main number is busy.
-
Phone Usage Scheme — choose how calls should be distributed among operators:
- Random — fully random distribution of numbers. Even distribution is not guaranteed.
- Random without repetition — random distribution that takes into account the most recently used number. This results in a more balanced distribution.
- Even load distribution (historical) — distributes numbers evenly based on their entire usage history starting from the moment the number was created.
- Even load distribution (daily) — distributes numbers evenly based on their usage history since the start of the current day.
-
Virtual numbers — select the number created in Step 1.
-
Agents — select the operator created in Step 2.
-
Show lead phone to agent — enable to allow the operator to see the lead’s phone number.
-
Call attempts — choose the interval group created in Step 3.
-
Speech recognition — when enabled, a transcript of each call will be generated automatically.
-
Ignore subscriber time zone — enable if the call schedule should not adjust to the lead’s mobile operator time zone.
-
Default language for AI — choose the language the AI will use when interacting by default.
Specification tab
-
Call script — choose the script created in Step 4.
-
Duplicate lead control (number of days) — the number of days during which repeated leads with the same phone number are automatically rejected if the original lead is still “active”.
-
Allow to show units from other orders in selection — when enabled, only the most relevant object is shown to the operator during object selection, hiding less suitable ones.
Assets tab
Attach files (presentations, commercial offers, etc.) that operators can send to leads as short links in the messenger.
Step 5. Setting up custom statuses
Custom statuses for leads and calls let you adapt Liner to your internal workflow. They can be synced with Bitrix24 and AmoCRM stages or used in Liner API requests.
Custom lead statuses
A custom lead status allows you to define a status that is not included in the default set.
Example: Not qualified (no initial payment).
To create one:
-
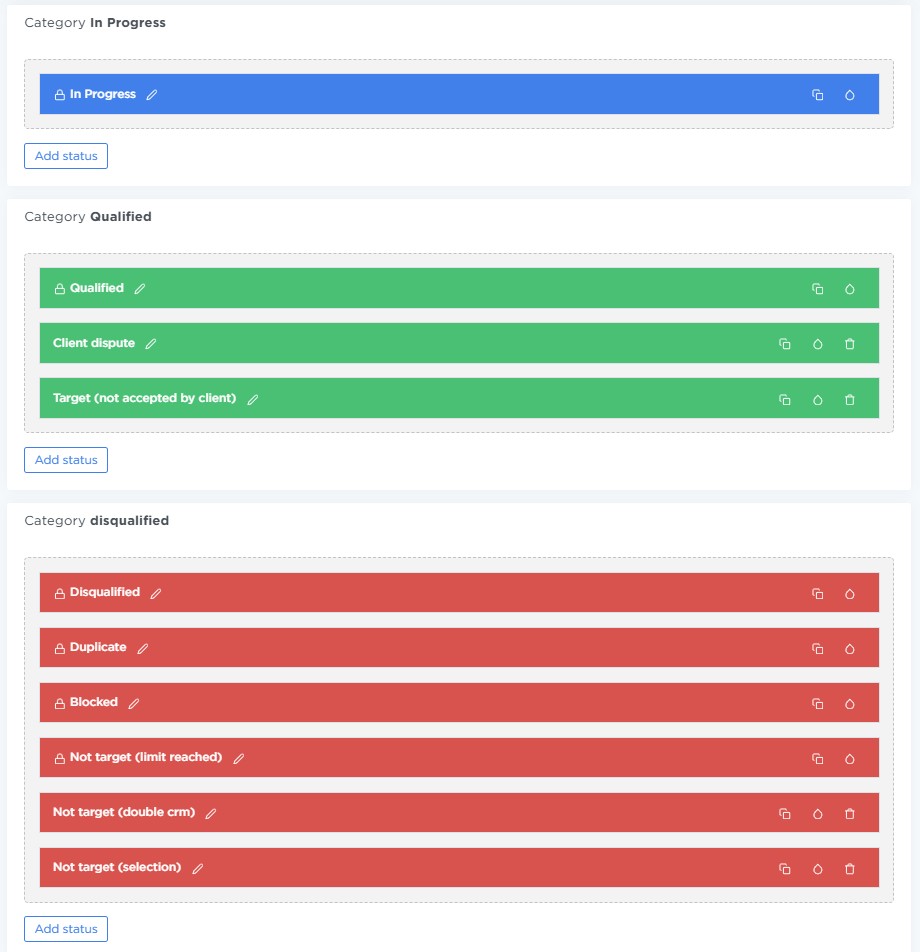
Go to Parameters → Lead statuses.
-
Click Add status inside the desired category: In progress / Qualified / Disqualified.
Note
In analytics:
-
Any lead with a status in the “In progress” category is not counted as completed.
-
Any lead with a status in the “Qualified” category is counted as successfully completed.
-
Any lead with a status in the “Disqualified” category is counted as a failed result.
-
-
Enter the status title.
-
Click the color icon to select a color.
-
Click Save.
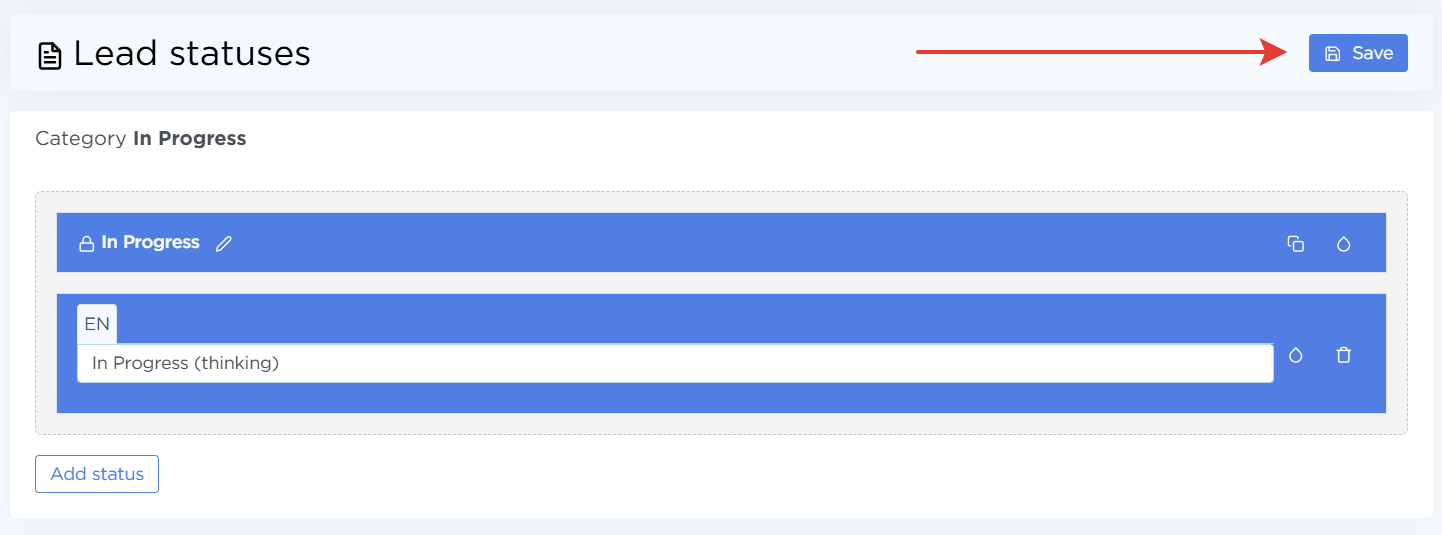
After creation, the status can be edited, moved within or across categories, recolored, or deleted.
Note
System statuses (marked with a lock icon) cannot be moved or deleted.
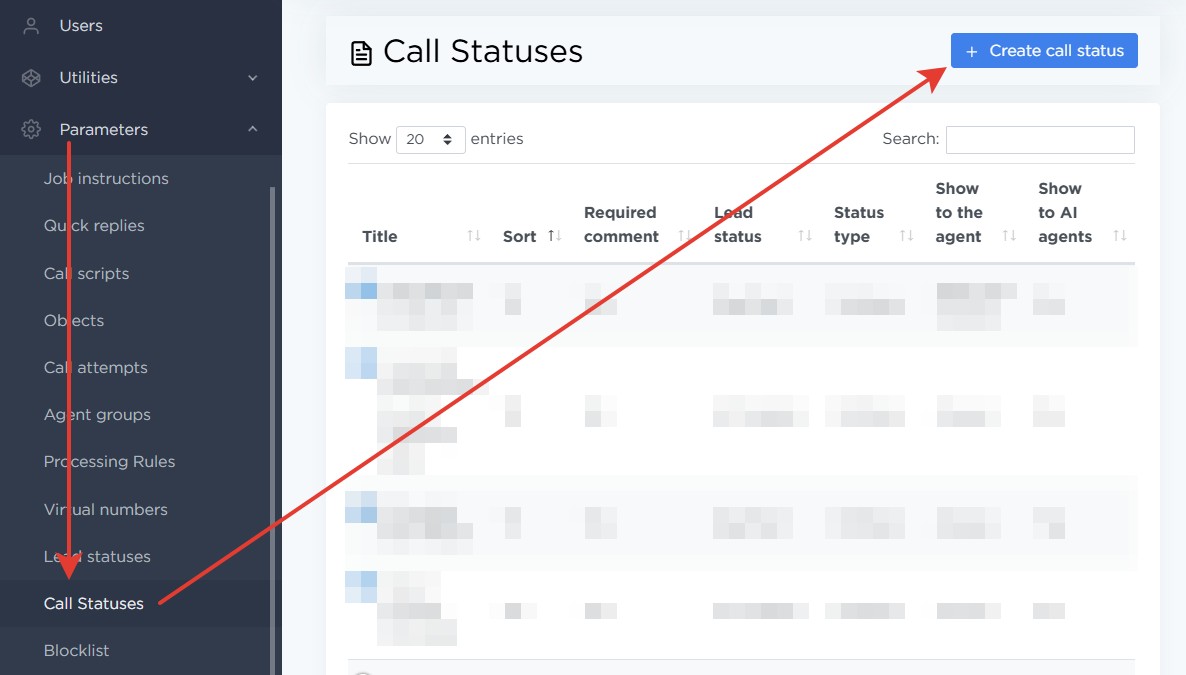
Custom call statuses
A custom call status allows operators to assign a call result that doesn’t exist in the default list and link it to a lead status — including custom ones.
To create one:
-
Go to Parameters → Call statuses.
-
Click Create call status.
-
Fill in the fields:
- Title — what the agent will see in the list.
- Description — when this status should be used.
- Symbolic code — auto-generated, used in API requests.
- Sort — sets the position of the status in the list.
- Lead status — select the lead status that should be linked to this call status. When this call status is chosen, the lead’s status will update automatically to the value specified here. 👉 More about call statuses and lead statuses
- Show to the agent — choose when the agent should see this status.
- Required comment — enable if agents must add a comment when selecting this status.
- Show to AI agents — enable to allow AI to assign this status.
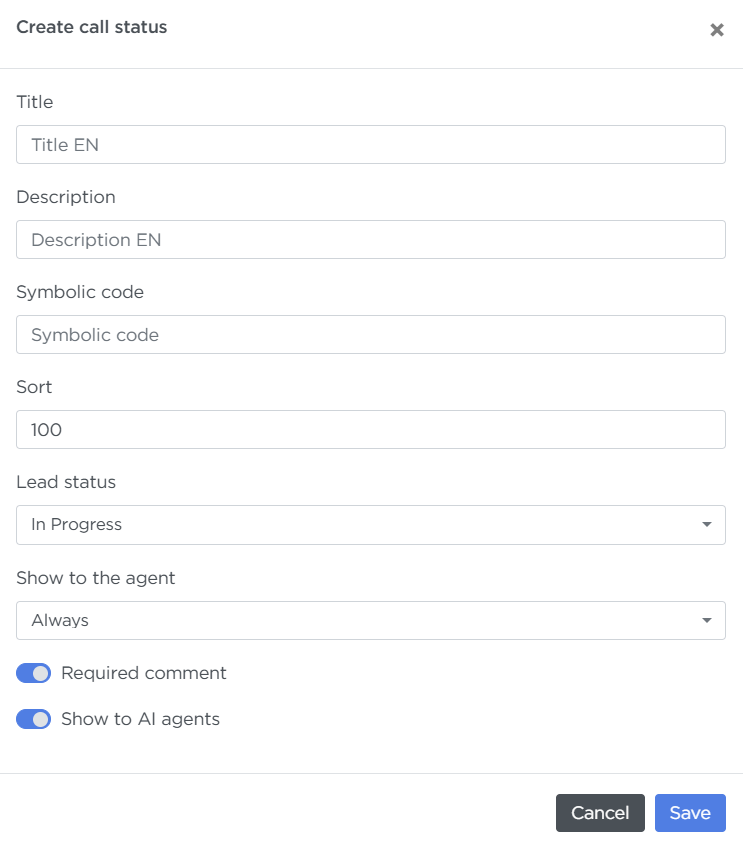
Click Save.
To edit an existing status, click the pencil icon.
Pay attention
The symbolic code cannot be changed after creation. System statuses cannot have their name, description, or linked lead status edited.
Step 6. Enabling the Call simulator
Call simulator simulates calls so operators can practice scripts without speaking to real customers. It’s used for:
- onboarding new operators,
- testing conversation scripts and quick replies.
Enabling Call simulator as a moderator
A moderator can enable Call simulator for any operator:
-
Open the operator’s profile → Phone tab.
-
Scroll to the Call simulator section and switch Call simulator is enabled to ON.
-
Set Order direction to Real Estate, and Lead type to Direct.
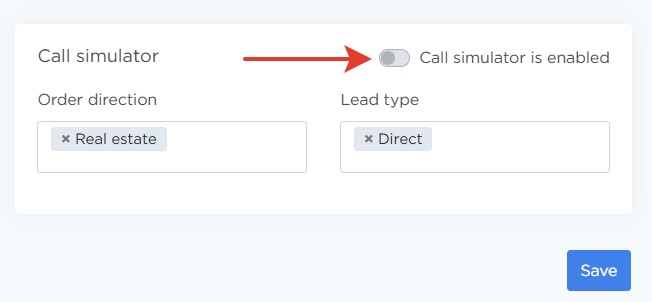
After clicking Save, the operator will immediately enter training mode. To disable it, switch the toggle off the same way.
Enabling Call simulator as an operator
Operators can enable their own Call simulator:
-
Open Calls → Call simulator.
-
Enable or disable Leads with selection (depending on what you want to practice).
-
Turn on Enable Call simulator.
Training Mode starts instantly. To turn it off, use the toggle in the bottom-left corner of the screen.
Step 7. Lead importer
Leads are potential customers with contact information (phone, name, source). To start calling, you need to load a lead list into the system.
-
Go to Utilities → Lead importer.
-
Paste your list of leads line by line (e.g., from CSV) in the format
phone;client name;comment
Example:
12345678900;John Doe;Quiz: 3-room apartment in Dubai, $6M -
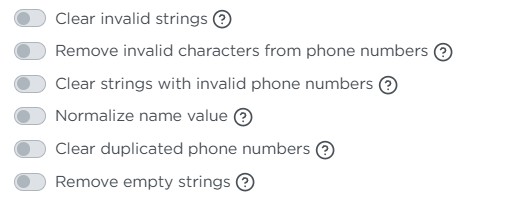
Select any additional processing functions you want to apply to the list (such as cleaning duplicates or normalizing names) and click » (Run Processor).
-
Click Next.
-
On the Import tab:
- Order — choose the order you created in Step 5.
- Lead status — the status that will be assigned to all imported leads.
- Lead type — choose Direct for standard processing, or Selection to enable object selection.
- Lead priority — choose Standard (priority = 100) or set a higher number to increase the importance of these leads.
- Call scheduling — leave empty to start calling immediately (if the order allows), or select a specific date and time for calling to begin.
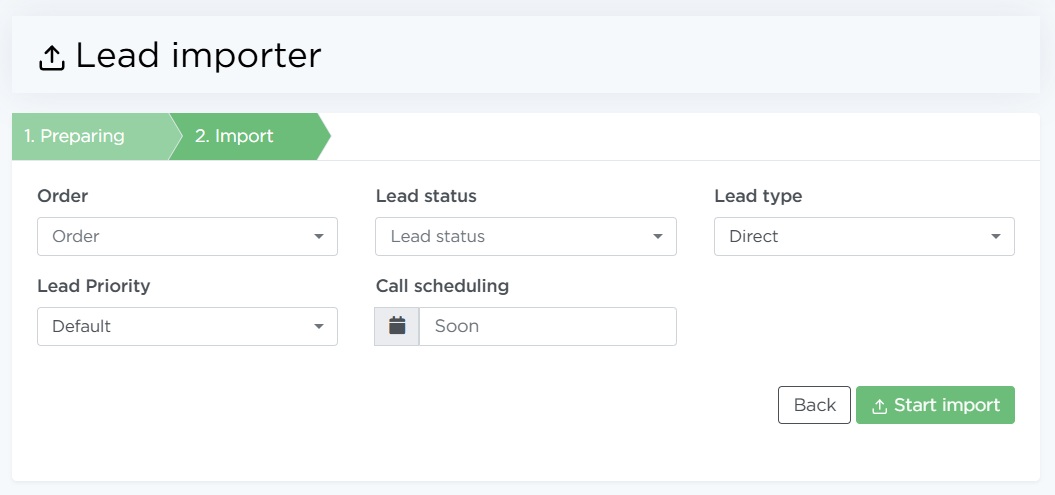
-
Click Start import.